Typo3/Frontend Localization: Unterschied zwischen den Versionen
Erscheinungsbild
| Zeile 3: | Zeile 3: | ||
=Adding a new language= | =Adding a new language= | ||
==Make a new language available== | ==Make a new language available== | ||
Add a new language available for the website development | |||
[[Datei:Schermata 2021-02-24 alle 16.31.57.png|mini|ohne|Add the new language]] | [[Datei:Schermata 2021-02-24 alle 16.31.57.png|mini|ohne|Add the new language]] | ||
*Choose and configure the language that you want to add | *Choose and configure the language that you want to add | ||
[[Datei:Schermata 2021-02-24 alle 16.34.57.png|mini|ohne|Choose the language you want to make available]] | [[Datei:Schermata 2021-02-24 alle 16.34.57.png|mini|ohne|Choose the language you want to make available]] | ||
Save>Close | |||
==Activate the new language for the website== | ==Activate the new language for the website== | ||
*Enter in the site management>Sites - This module is limited to admin users only | *Enter in the site management>Sites - This module is limited to admin users only | ||
Version vom 9. Juli 2021, 10:52 Uhr
TYPO3 CMS comes with the built-in ability to handle web sites in multiple languages.
Adding a new language
Make a new language available
Add a new language available for the website development

- Choose and configure the language that you want to add
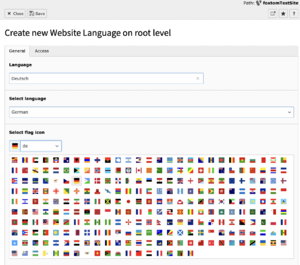
Save>Close
Activate the new language for the website
- Enter in the site management>Sites - This module is limited to admin users only
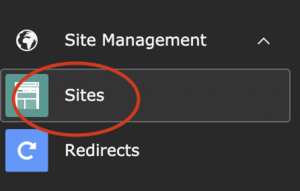
- Click on edit Site configuration

- In the big square are shown the available languages for the website
- Just click on the one that needs to be added to the website and it will be instantly be available.
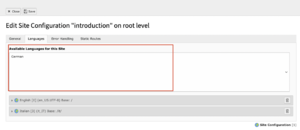
- Be sure that all the fields are properly configured
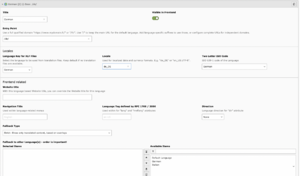
- Now you can work with the new language and make the website multi language
Translate the website pages
- To translate the pages of your website enter in the Page module and select the page you want to translate in the tree section
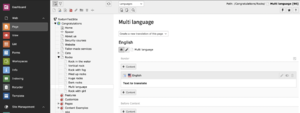

- The next step is to edit the new language name of the page
- Don't forget to update the page URL
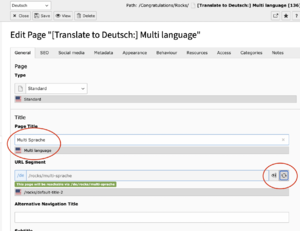
- Save>Close
- Now you will be able to see the 2 versions of the page, in both the languages you need
- Be sure to select the Languages view
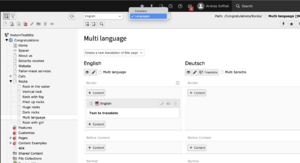
- Now you have to translate the contents. To do so click on the button "Translate"
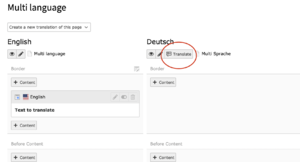
- It is possible to choose between the options:
- Translate: will create a direct connection between the original language and the language you translate to.
- Copy: You are freer to design your website. More recommended
- With the option Copy the software will generate a copy of the content that you will have to edit and translate in the new language
- The new content is in Light grey color because it is not enabled. Remember to enable the content if you want to see it in the frontend
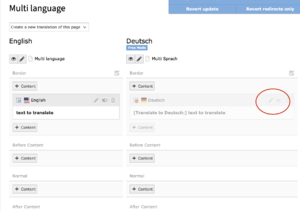
- In the edit section of the new page you can translate the contents and set everything as you wish
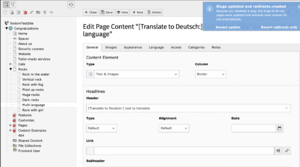
- Save>Close
View the translated pages in the frontend
- To see if your changes work as you wish on the frontend, click on the view mode
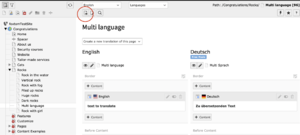
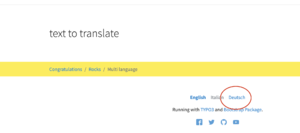
- Change the language of the website into the one you are working with
